Raul Molina
#14 Mayo 2025 #OracleACEPRO #OracleTipsSV
El Despliegue de Software Oracle RDBMS en un cluster en Exadata es un tanto diferente, no significa que no se pueda hacer de la forma tradicional, pero la documentación indica el método con despliegue de software controlado,.
Existe un Software de despliegue llamado OEDACLI, cada cierto tiempo se actualiza la versión como ocurre con el orachk ( ahora AHF), o para sistemas de Ingenieroa EXACHK.
La nota de la herramienta es: Engineered Systems : Exadata Onecommand Releases (Doc ID 2257907.1)
También conocido en la documentación como OneCommand Tool.
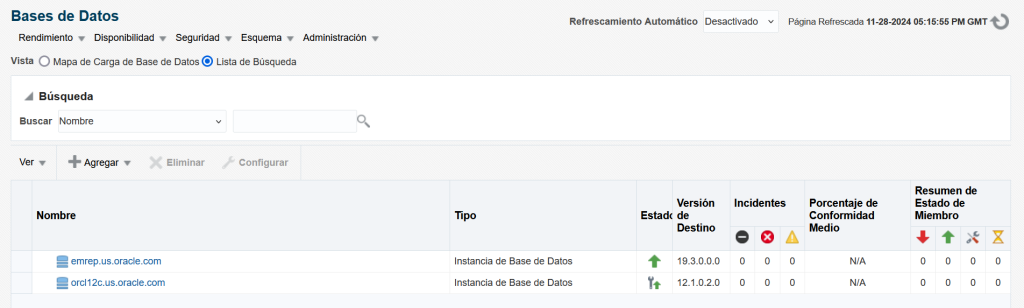
Hay que conocer la estructura de los clusters que forman parte de mi exadata, si es BM o VM, etc, etc, esta información está en un manifiesto en XML usualmente en la ruta del OneCommand con que se desplegó orginalmente el exadata( Usualmente /EXAVMIMAGES/joc/linux).
Para mi ejemplo:
Vamos a suponer que tenemos un cluster con nombre cluster1, que ya tiene un DBHOME desplegado.
DBVERSION=19.3.0.0.190416
/EXAVMIMAGES/joc/linux/WorkDir/linuxamd64_12102_database_1of2.zip ./oedacli
oedacli> load file name=ClienteXX-exa00-cluster1.xml
SUCCESS – file loaded OK
Customer : CLIENTENAME – AK00585677
Listamos los DB OracleHomes que ya tenemos desplegados:
oedacli> list databasehomes
version : “CloneInstall”
cluster :
id : “Cluster-c1eda23c2-b409-8043-d268-2ef6a753cf91_id”
databaseHomeName : “DbHome_4”
databaseSwOwner : “33c3048e-f429-08a4-c88c-86087ced123c”
databaseVersion : “12.2.0.1.191015”
databaseHomeLoc : “/u01/app/oracle/product/12.2.0.1/dbhome_1”
inventoryLocation : “/u01/app/oraInventory”
installType : “rac_database”
language : “all_langs”
machines :
machine :
domainGroup :
machine :
id : “exa00compute01_Cluster-c1eda23c2-b409-8043-d268-2ef6a753cf91_vm01_id”
domainGroup :
machine :
id : “exa00compute02_Cluster-c1eda23c2-b409-8043-d268-2ef6a753cf91_vm01_id”
patches :
patch :
patchNumber : “30116802”
basedir : “/u01/app/oracle”
id : “DbHome_9b5a5b28-4934-4c5a-2d72-c0f5a0171ae3_id”
Ahora agregamos, 4 comandos componen toda tarea en OEDACLI, el comando en si,
save action, merge actions y deploy actons
oedacli> ADD DATABASEHOME OWNER=oracle DBVERSION=19.3.0.0.190416 DBHOMELOC=/u01/app/oracle/product/19.0.0.0/dbhome_1 where CLUSTERNAME=cluster1
oedacli> save acation
ERROR >——-^
Command did not Parse OK
BAD : acation
oedacli> save action
oedacli> merge actions
processMerge
processMergeActions
Merging Action : ADD DATABASEHOME OWNER=oracle DBVERSION=19.3.0.0.190416 DBHOMELOC=/u01/app/oracle/product/19.0.0.0/dbhome_1 where CLUSTERNAME=cluster1
Merging ADD DATABASEHOME
Action Validated and Merged OK
oedacli> deploy actions
Deploying Action ID : 1 ADD DATABASEHOME OWNER=oracle DBVERSION=19.3.0.0.190416 DBHOMELOC=/u01/app/oracle/product/19.0.0.0/dbhome_1 where CLUSTERNAME=cluster1
Deploying ADD DATABASEHOME
Validating Oracle Home..
Checking to see if /u01/app/oracle/product/19.0.0.0/dbhome_1 is already mounted
Validating kvmutils rpm..
Validating required files…
Extracting files..
Copying files…
SUCCESS: Target Database Home /u01/app/oracle/product/19.0.0.0/dbhome_1 is not already mounted.
SUCCESS: Local file db-klone-Linux-x86-64-19000190416.zip is successfully copied to celda01.promnet.com.sv as user root to /EXAVMIMAGES/ as db-klone-Linux-x86-64-19000190416.zip
SUCCESS: Local file db-klone-Linux-x86-64-19000190416.zip is successfully copied to celda02.promnet.com.sv as user root to /EXAVMIMAGES/ as db-klone-Linux-x86-64-19000190416.zip
Validations completed successfully.
Creating new disk image file..
Attaching disk image to Virtual Machine exa0001nodo2.promnet.com.sv
Attaching disk image to Virtual Machine exa0002nodo2.promnet.com.sv
Completed setting up additional Oracle Home on Cluster cluster1
Configuring database home software, database home CliDbHome_0
Relinking database software..
Completed configuration of database home software [/u01/app/oracle/product/19.0.0.0/dbhome_1] on Cluster cluster1
Done…
Done
oedacli>
oedacli>
oedacli>
Después de esta operación el OH RDBMS habría sido desplegado en los clusters de BD que para el caso son KVM Guest en el Exadata DAtabase Machine en todos los nodos que componente el cluster.
La documentación utilizada oficial:
https://docs.oracle.com/en/engineered-systems/exadata-database-machine/dbmin/add-databasehome.html